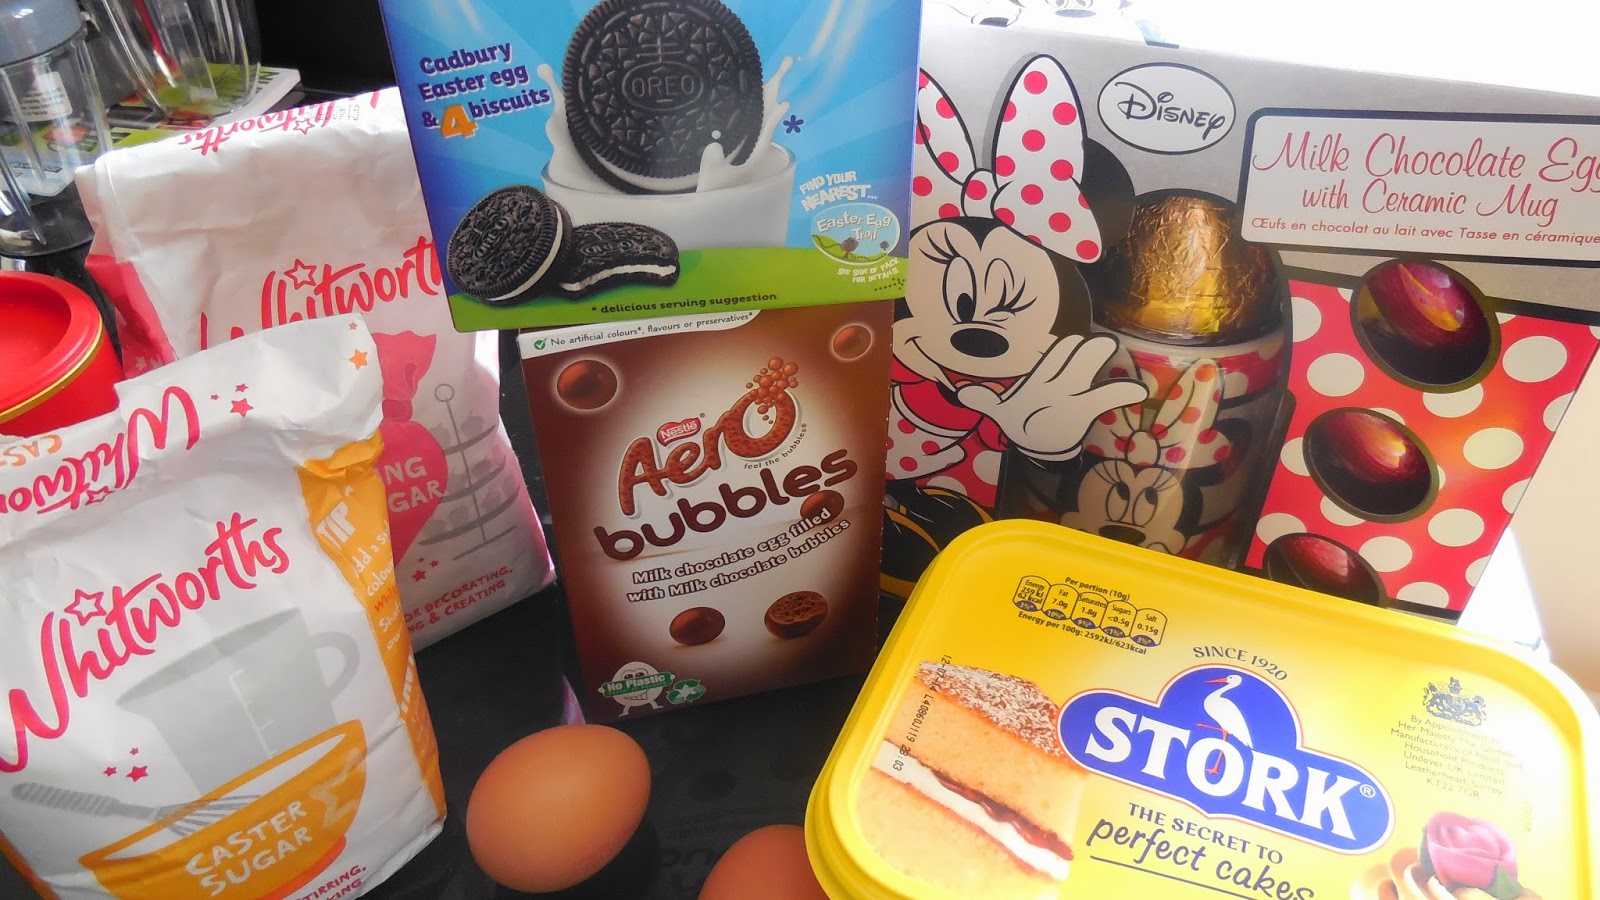
So I was very lucky to receive not one, but 4 Easter Eggs this year, and as a lot of you may know - it is not too long (4 days in fact) until I jet off to sunny Florida to explore and enjoy all things Disney. Now as you can imagine, the prospect of being in a bikini has gotten me into exercise and "clean-eating" mode and whilst I do still enjoy my food and allow myself little bits of what I fancy now and again, I wondered how I was going to enjoy all of my Easter Eggs without a slight worry in the back of my head reminding me I had to be a slim jim for my vacation, in preparation of destroying my body with Turkey legs and IHOP whilst there.
So I thought, rather than wasting the eggs, mindlessly eating or leaving them for future consumption - I would turn a couple of my eggs into Easter Egg cupcakes and treat the people around me for a little piece of Easter joy to last them until next year.
So, without further ado - here's what you're going to need:
Ingredients
Base:
6oz S.R Flour
6oz Caster Sugar
6oz Margarine
2oz Cocoa Powder
3 eggs
Frosting:
12oz Icing Sugar
6oz Margarine
2 Battered Easter Eggs
Method
Okay, so the first thing you're going to do, is grab your mixer and shove in all the measured out base ingredients bar the cocoa powder. I am a woman of efficiency when it comes to baking (thanks to my mum). I tire of watching cooking shows where they so carefully add the ingredients, sift the flour and mix each ingredient slowly with the next. NO - in my opinion, this is not necessary. This will not make your cake softer, it will not make them rise better, at the end of the day it's all going to get mixed eventually so save yourself sometimes and just whack it all in.
(Sidenote: Did you know you don't actually HAVE to sift the flour? This was a tradition done in the dark ages to sift out any bugs that may have gotten in the flour, it does not make any great changes to your baking.)
So mix it on high for about 30 seconds and you should be left with this;
Next up you're going to add in the cocoa powder all at once and then mix again until smooth as shown below.
Boom, batter bases are done - how easy was that? Next you're going to line your cupcake trays (I like a good deep tray as this will allow for more batter and will make your cupcakes stand more proudly!) With some large muffin cases. Then using a spoon (or a nifty ice cream scoop like me) You're going to portion out your batter equally into each case.
Once you've done that and you're happy with it you're now ready to get them in the oven, which should be preheating at 180° for 20 minutes.
While they're cooking you're going to wash your equipment and get ready to make the frosting.
Again, same as before mix both ingredients on high for about 30 seconds until light and fluffy, then start loading it into an icing bag so you're ready to go once your cupcakes are cooled. Now for one of my favourite steps, whack your Easter Eggs on something hard and tear them apart a little ready for decoration!
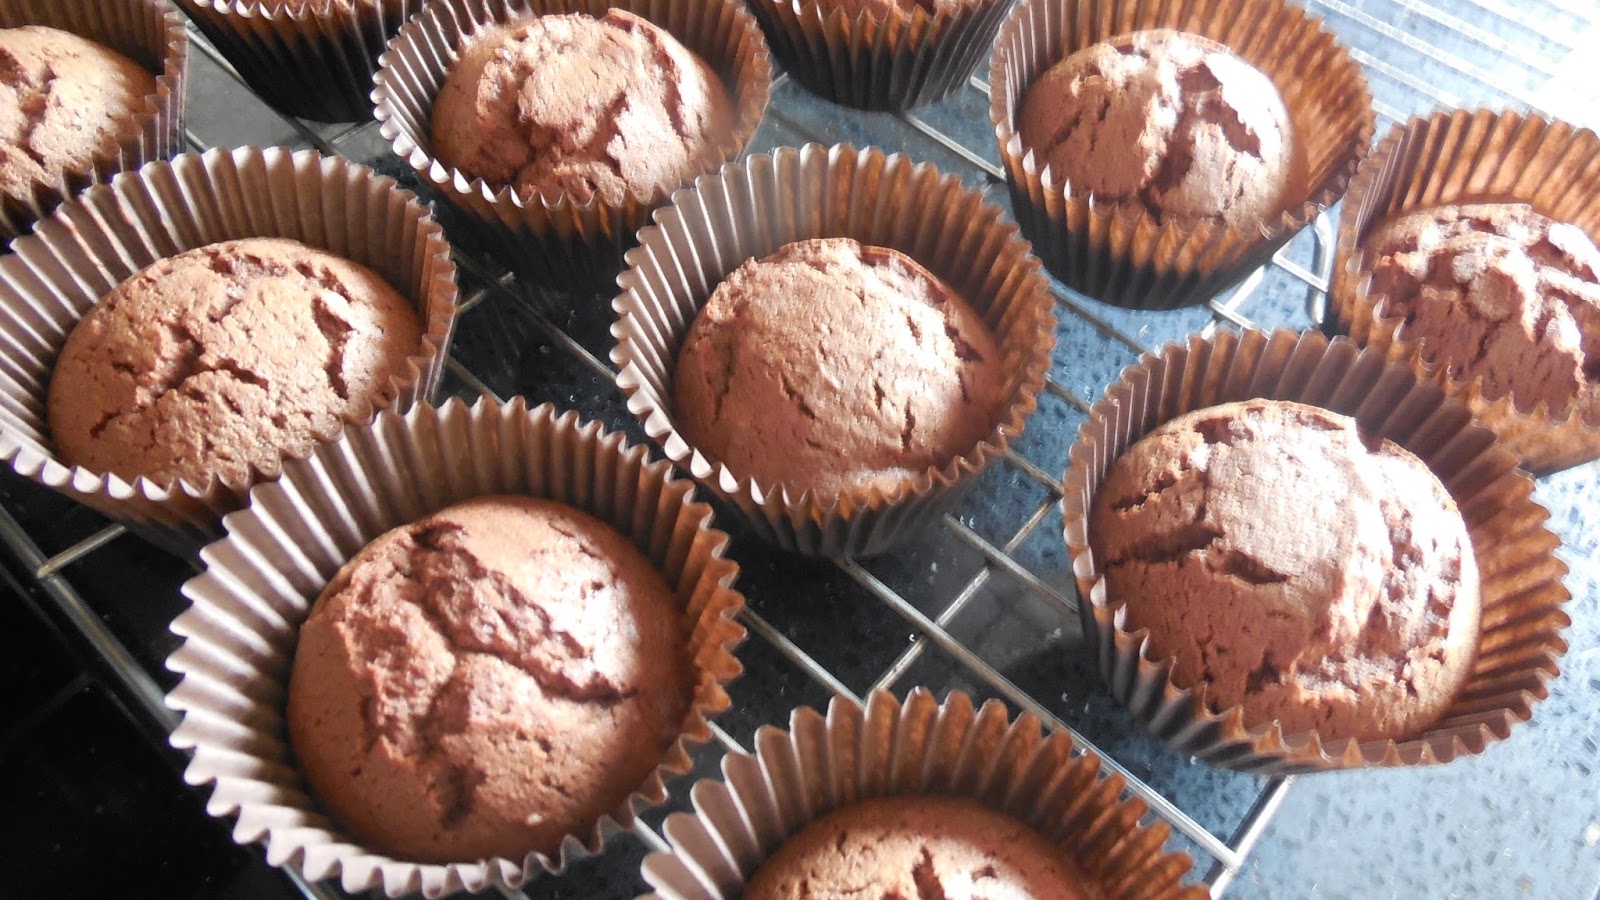
Once your cupcakes have served their 20 minutes (the cupcakes should be slightly soft to the touch when you get them out the oven), get them out and only cooling trays. After about 30 minutes they'll be ready to frost!
Taking your icing bag and a large dot nozzle, start piping the frosting onto your cupcakes
using a circular motion so you end up with something like this;

Now all that is left to do, is to take shards of your Easter Egg and push them into the frosting and sponge, they can be as big or small as you like - whatever you want to go for (I was of course snacking of the decoration which is why I went for small to medium shards).
Lastly you want to beat up or grate some of the remaining chocolate shards and sprinkle them onto the cake to add a little Je ne sais pas to your little masterpieces.
Would you believe it? You're done! Celebrate your accomplishment by devouring one of your little creations, baking is hard work so you deserve it!
I hope you've enjoyed this "How to" and your loved ones enjoy their little slices of heaven, heck I'll even let you take credit for it all! Thanks for reading and I'll see you next time!
x


No comments:
Post a Comment